Recipes

Cheddar-Wrapped Taco Rolls {Keto, Grain-Free)

[AdSense-A]

These taco rolls are perfect for finger foods at a party and are made with 100% cheddar cheese, making them keto and low-carb friendly!

Ingredients

For the crust

  1. 2 cups cheddar cheese (or enough to cover the bottom of your pan)

For the toppings

  1. 1 cup taco meat (cooked and seasoned ahead of time)
  2. 1/4 cup tomatoes, chopped
  3. 1/2 of an avocado, chopped
  4. 2 tsp Sriracha mayo or taco sauce
  5. (You can really add any other taco toppings you like, olives, onions, etc).

[AdSense-B]

Instructions

  1. Preheat oven to 400F.
  2. Cover a small baking sheet with parchment paper (important) leaving some on the sides so you can lift the cheese up and out when it’s done.
  3. Grease the parchment paper lightly, especially around the edges.
  4. Sprinkle shredded cheddar cheese to cover the baking sheet with one layer (this may be more than 2 cups if you have a larger baking sheet).
  5. Add to oven and bake for about 15 minutes, or until it bubbles and browns on top.
  6. Remove from oven and see if you can lightly slide a silicone spatula under all the edges and then also under the middle.
  7. If not, add back to the oven until you can. And once you can, add taco meat and cook for another 5-10 minutes or until hot.
  8. In the meantime, combine the rest of the toppings in a bowl. You can add whatever toppings you like, just be sure it’s a thin layer of toppings in the end so you can roll easily later on.
  9. Remove from oven, then remove from baking pan by holding the sides of the parchment paper.
  10. Add the cold toppings in a single layer
  11. Looking at the cheese horizontally, use a pizza cutter to slice top to bottom and make 3-4 slices.
  12. Making sure the parchment isn’t sticking, roll each slice from bottom to top.

MACROS: Net Carbs 2g // Calories 491 // Fat 35g // Carbohydrates 2g // Fiber 0g // Protein 37g

[AdSense-A]

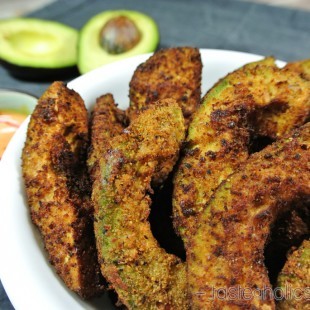
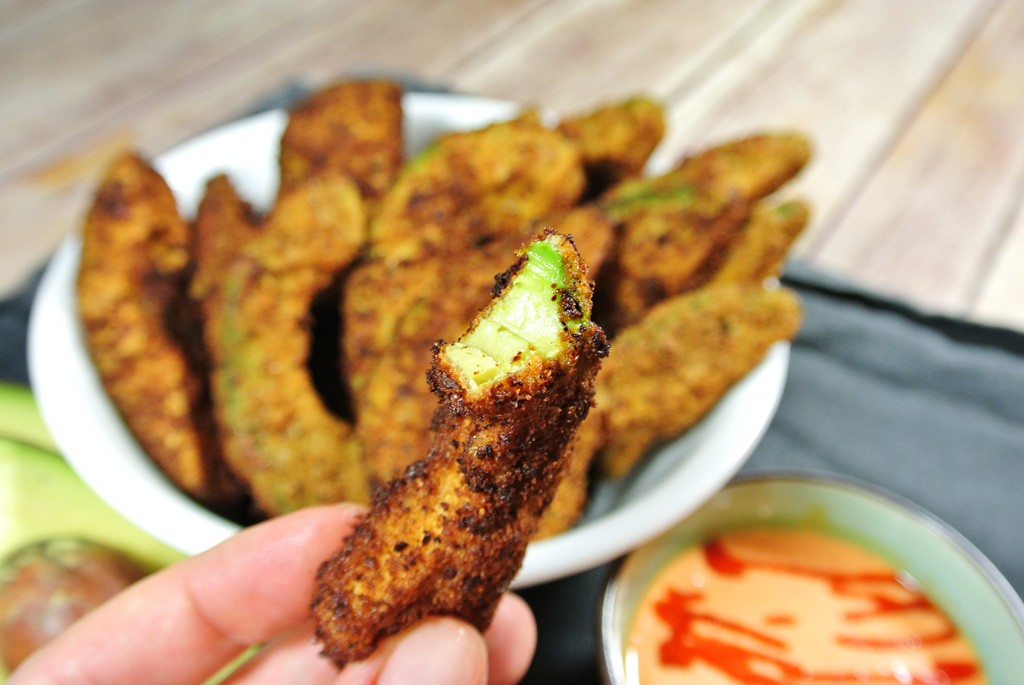
Crispy baked Cajun Pork Rind Avocados w/ Sriracha Mayo

 [AdSense-A]

Let’s make some avocado fries!

Avocado Fries with Spicy Mayo
Avocado Fries

MACROS PER SERVING:
• 587 Calories
• 51g of Fat
• 17g of Protein
• 8g of Carbs
  • CourseAppetizer, Snack
Serves
3 servings
Prep Time
10 minutes
Cook Time
5 minutes
Servings:

Ingredients:

Fries
Spicy Mayo
 [AdSense-B]
Instructions
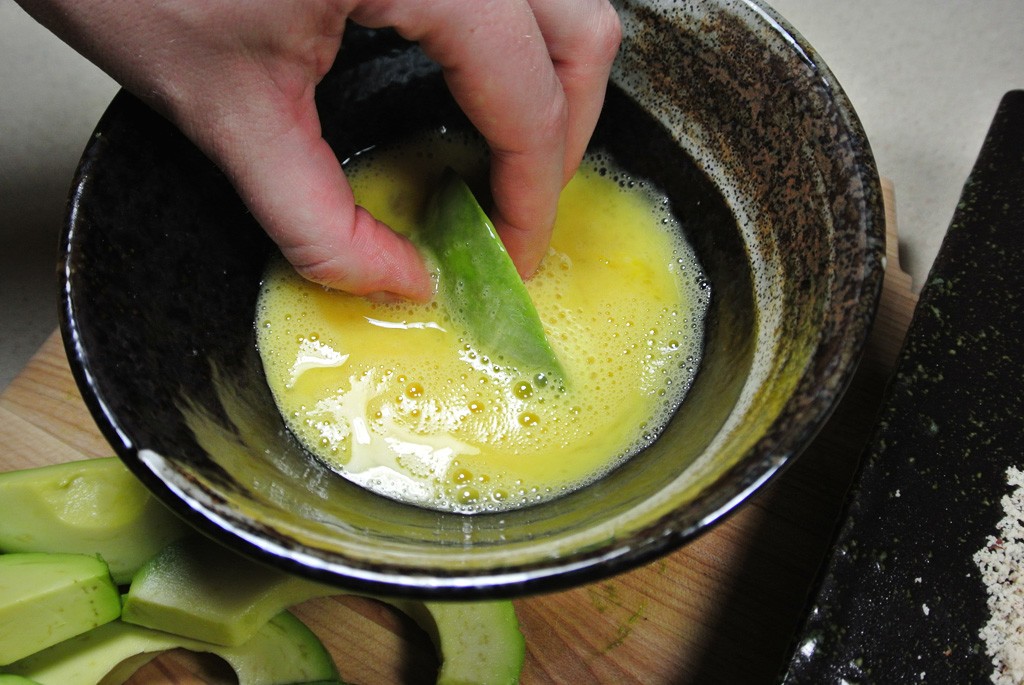
  1. Break an egg into a bowl and beat it. In another bowl, mix your almond meal with some salt and cayenne pepper.
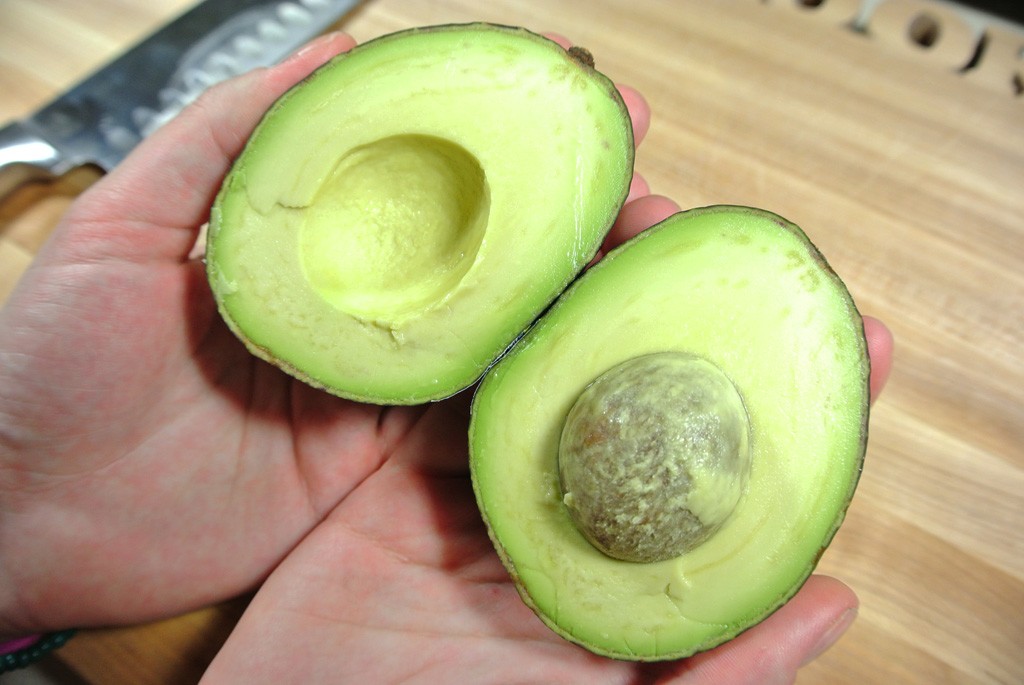
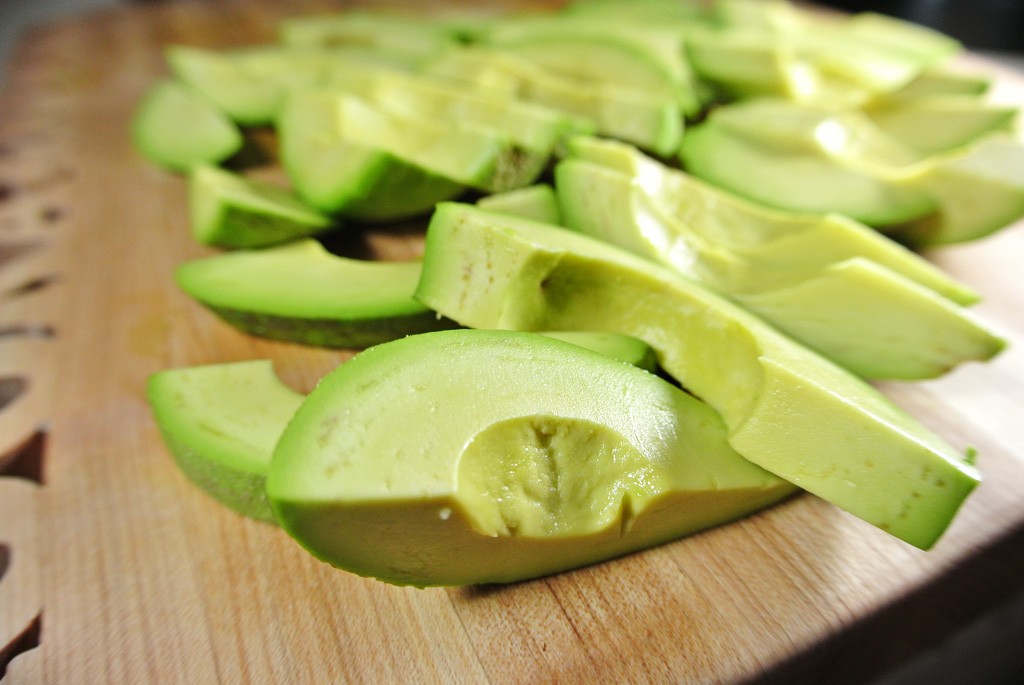
  2. Slice each avocado in half and take out the seed.
    Slice your avocado in half
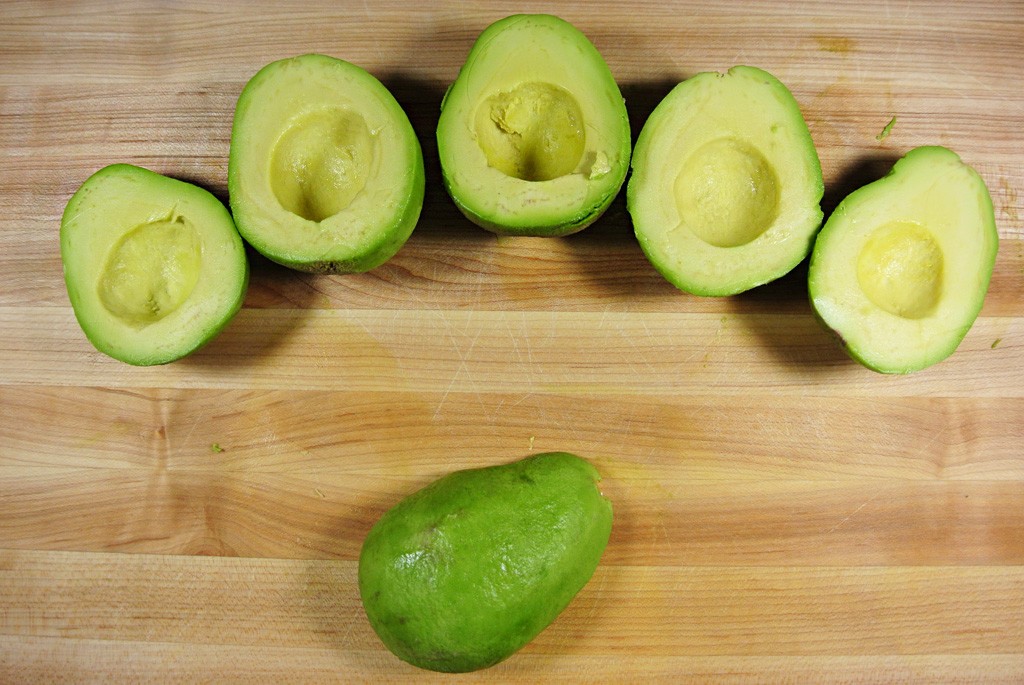
  3. Peel off the skin off every half.
    And all the others as well!
  4. Slice each avocado vertically into 4 or 5 pieces (depending on the size of the avocado).
    Slice each one into 4ths or 5ths
  5. Start heating your deep fryer (or deep pan with lots of oil) to about 350°F. If you don’t have a cooking thermometer, try sticking a wooden spoon into the oil when it’s been heating for about 7-8 minutes. If bubbles arise from the spoon, your oil is hot enough for deep frying!
  6. Coat each slice of avocado in the egg.
    Coat each piece in egg
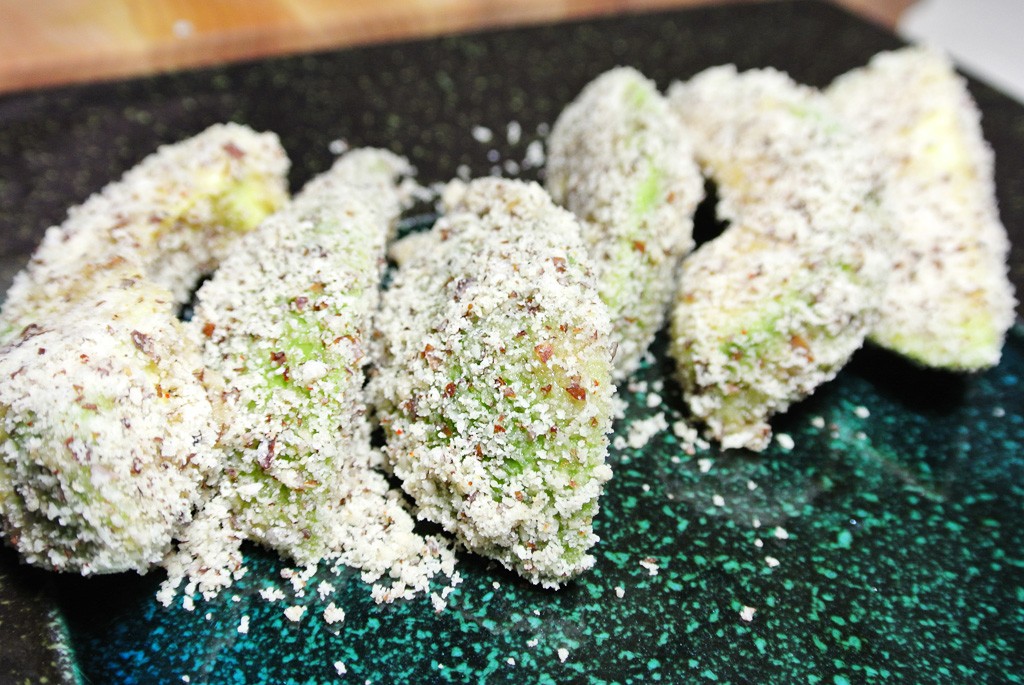
  7. Roll each coated slice in the almond meal until you can barely see the green.
    Ready for frying!
  8. Carefully lower each avocado slice into the deep fryer (or pan) to avoid splashing. It will hurt!
  9. Allow each piece to fry from 45 seconds to a minute until a light brown. Dark brown means they’ve been in there a few seconds too long.
     [AdSense-A]
  10. Transfer quickly to a plate lined with a paper towel to soak up the excess oil.
  11. Mix some sriracha sauce and mayonnaise and get to munching!

Dubbellugg keto

[AdSense-A]

Today, the Dubbellugg once again stood for a fix thing in his keto kitchen and today has again scaled down: came out is a fine asparagus dish with the following

ingredients:

70 g of noble salami in 25 g of olive oil left out, 200 g of green asparagus (briefly pre-cooked) added and with 100 g Whipped cream, 2 eggs (116 g) and finished. This resulted in the following nutritional values per serving: 1000 kcal, only 8 g carbohydrates, 40 g protein and delicious 89 g fat. Fiber today comes only from asparagus (2.6 g). But the Skaldemanratio shines today with a value of 1.85. Ket

[AdSense-B]

avocado-filled chicken meatballs

[AdSense-B]

These avocado-filled chicken meatballs are quick, kid-friendly and keto! Not to mention, they’re so easy, you could even make them tonight!
Ingredients: • 1 lb ground pasture-raised chicken breast • 1 T Dijon mustard • 1/4 t garlic powder • 2 T parsley, finely chopped • 1/2 t sea salt • 1 ripe avocado, mashed until smooth • 1 T ghee
⠀⠀
Instructions:
1. In a large mixing bowl, combine chicken, Dijon mustard, garlic powder, parsley and sea salt. Mix until combined.
2. Form the mixture into 10 golf ball-sized meatballs, reserving about a half a cup of the meat. Create a divot in the center of each meatball and fill with ½ teaspoon of mashed avocado. Cover divot with 1 tablespoon from the reserved ground chicken to seal.
3. Heat ghee over medium heat in a skillet. Add 4-5 meatballs and cook 12 minutes, turning meatballs to evenly brown on all sides. Set aside and keep warm.
4. Repeat with remaining meatballs, and serve! 🥑Tag an avocado lover below!! 🥑

[AdSense-A]

Instant Pot Broccoli Beef

[AdSense-A]

Ingredients:

  • 2 Pounds of thinly sliced beef

(I usually use Carne Picada)

  • 1/4 Cup Bragg liquid aminos
  • 3 Tbsp Olive oil
  • 2 Tbsp Sesame oil
  • 3 Tbsp Minced garlic
  • 1 Tbsp Ground ginger
  • 1 Tsp Xanthan gum
  • Broccoli
  • 1 Tbsp Bragg liquid aminos

Step 1:

Set your Instant Pot to saute.

Once hot, add the 2 Tbsp sesame oil, 3 tbsp olive oil.

Allow the oils to heat briefly, then add the 2 pounds beef,

1 Tbsp ginger and 3 Tbsp minced garlic.

Step 2:

[AdSense-B]

Stir and saute until beef is browned.

Then add the 1/4 cup of Bragg Liquid aminos.

Turn off the instant pot, close and lock the lid.

Set the Instant Pot to Meat / stew, high pressure,  11 minutes.

Allow the Instant Pot do do it’s thing

Step 3:

Once time is up, manually release the pressure.

Then mix in the 1 tsp of xanthan gum to thicken the sauce.

Step 4:

Slice up 1 cup of broccoli, and add to a frying pan on med-high heat with 1 cup of the previously made beef.

Add 1 Tbsp Bragg liquid aminos and cover with a lid.

Stir occasionally and allow to cook until the broccoli reaches a desired density.

Step 5:

Add to a bowl, allow to cool a bit and enjoy!

[AdSense-A]

Keto Cheesy Garlic Bread

[AdSense-A]

I loved it. We made a loaf with 7 slices. I had 3 and a half slices and I’m full now— it’s so satisfying.

Ingredients: * 170 g pre shredded/grated cheese mozzarella * 85 g almond meal/flour *see recipe notes below * 2 tbsp cream cheese full fat * 1 tbsp garlic crushed * 1 tbsp parsley fresh or dried * 1 tsp baking powder * pinch salt to taste * 1 egg medium Metric grams – US measurements

Instructions: 1. Place all the ingredients apart from the egg, in a microwaveable bowl. Stir gently to mix together. Microwave on HIGH for 1 minute. 2. Stir then microwave on HIGH for a further 30 seconds. 3. Add the egg then mix gently to make a cheesy dough. 4. Place on a baking tray and form into a garlic bread shape. Cut slices into the low-carb garlic bread 5. Optional: Mix 2 tbsp melted butter, 1 tsp parsley and 1 tsp garlic. Brush over the top of the low-carb garlic bread, sprinkle with more cheese. 6. Bake at 220C/425F for 15 minutes, or until golden brown.

Nutrition Facts: Cheesy Keto Garlic Bread – using mozzarella dough Amount Per Serving (1 slice (makes 10)) Calories 117.4 Calories from Fat 88

% Daily Value* Total Fat 9.8g 15% Total Carbohydrates 2.4g 1% Dietary Fiber 0.9g 4% Sugars 0.6g Protein 6.2g 12% * Percent Daily Values are based on a 2000 calorie diet.

[AdSense-B]

Ingredients:

  • 170 g pre shredded/grated cheese mozzarella
  • 85 g almond meal/flour
  • see recipe notes below
  • 2 tbsp cream cheese full fat
  • 1 tbsp garlic crushed
  • 1 tbsp parsley fresh or dried
  • 1 tsp baking powder
  • pinch salt to taste
  • 1 egg medium

[AdSense-A]

KETO – Easy Flat Tummy Water Recipe (Ginger Lemon Cucumber Mint Water Recipe)

[AdSense-A]

Getting a flat tummy doesn’t have to be difficult. There are things you can do to help flatten your stomach. Flat tummy water could trim your waistline and help you flaunt a toned body.

But what is flat tummy water? Where do you buy it? Flat tummy water isn’t available in stores, but you can make it at home.

Flat tummy water contains a few simple ingredients. It is a mixture of water, ginger, cucumber, lemon, and mint leaves. It is a good alternative to high-calorie drinks and provides many health benefits, too.

Does Flat Tummy Water Work? Know its Health Benefits

Flat tummy water isn’t just an alternative to water or sugary beverages. It is a health tonic. Flat tummy water has many health benefits.

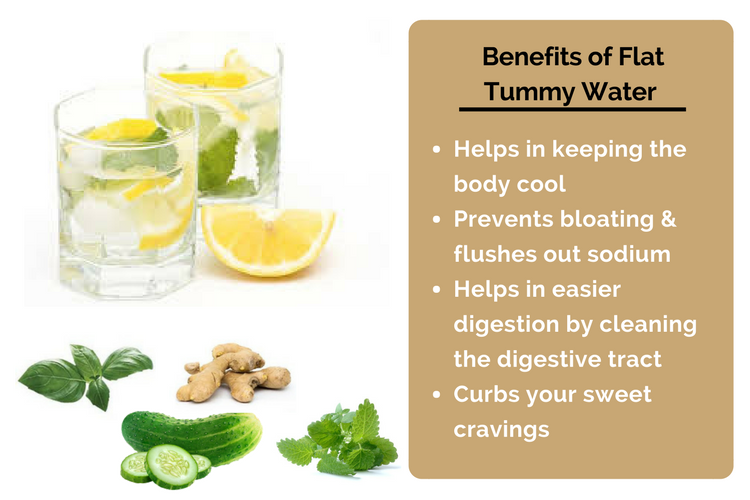
Flat Tummy Water Benefits

1. Hydrates the body

Drinking flat tummy water post-workout may help burn fat and cool down the body.

2. Prevents bloating

Flat tummy water helps with digestion and prevents bloating. It helps reduce bloating caused by high-sodium foods. It flushes out the sodium in your body and relieves discomfort due to digestion issues.

3. Cleanses the digestive tract

Flat tummy water helps to regulate and clear your digestive tract. It also reduces inflammation in the digestive tract. It helps break down food and makes its passage easier. This aids in the digestion process, and in a way, helps you get rid of tummy fat gradually.

4. Curbs cravings

Flat tummy water may help curb your sweet cravings. It is an ideal weight loss drink which also keeps you hydrated. You can sip it throughout the day.

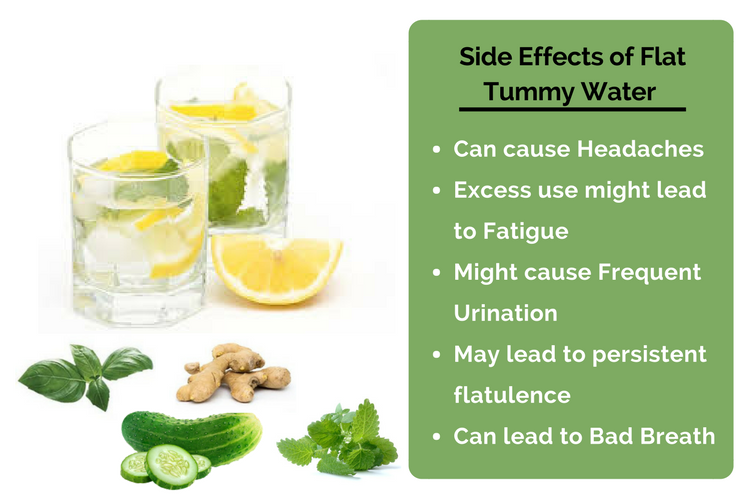
5 Flat Tummy Water Side Effects

A flat tummy water detox is used to cleanse the body and get rid of toxins. But, detoxification also has some side effects.

These are five possible side effects of flat tummy water.
Side effects of flat tummy water


1. Headaches

Detoxification can cause headaches. People who detoxify their body for the first time may experience this side effect.

It may last from a few minutes to few hours. The headache can be a migraine, cluster headache, or a tension headache.

2. Fatigue and weakness

If you go for an intensive cleanse lasting more than 10 days, you may experience the above symptoms. During a cleanse, the body is deprived of the essential nutrients, which may lead to fatigue and weakness.

The absence of proteins in a diet makes the muscles weak, too. We recommend you consult your doctor if you want to do a detox for more than three days.

3. Frequent urination

The detox process directly affects the digestive tract. The detox drink acts as a diuretic, so you may experience frequent urination while your body gets rid of the toxins.

It occurs especially during the first two to three days of the detox. You may also suffer from loose bowel movements due to the high acid concentration.

4. Persistent flatulence

The body removes toxins from the body not only in the form of urine but also as gas. A person on a detox diet may experience persistent flatulence throughout the day.

5. Bad breath

The acid concentration in the digestive tract can lead to bad breath. You may also experience a creamy brown, orange, or white coating on the tongue, which causes bacterial buildup and further contributes to bad breath. Use a mouth freshener or try eating light foods in between to help reduce the bad breath.

 [AdSense-B]

Flat Tummy Nutrition Facts

Each ingredient in flat tummy water is healthy and low in calories.

Water

Water is life. It is the most important element for hydration. Dehydration can slow down the fat-burning process. Consuming water an hour before meals will help keep you full and control your food intake.

Cucumber

A cucumber contains 95% water. It is low in calories and high in fiber. They are highly recommended for weight loss diets.

Related: 12 Health Benefits of Cucumber Juice

Cucumbers are a healthy snack to eat. They enhance skin health. Cucumbers contain vital nutrients such as vitamins A, C, K, and B, as well as calcium, potassium, manganese, magnesium, and iron.

Some of these nutrients are also present in energy drinks, but they naturally occur in cucumbers.

Lemon

Lemons are high in pectin, fiber, and vitamin C. This fiber forms a gel-like substance in the intestine which aids digestion.

Lemon is refreshing and is good to cure acidity and overall digestion issues. It helps to detoxify and cleanse the body.

Related: Lemon Water for Weight Loss: How It Helps with a Cleanse

Vitamin C acts as an immunity booster. Lemons help get rid of skin problems, too.

Ginger

According to a study published in the Metabolism Journal, people who drank a hot beverage with ginger felt more satiated and helped prevent them from overeating.

Ginger also contains gingerol, flavonoids, and phenolic compounds. These compounds help relieve gastrointestinal (GI) irritation caused by toxins, food, and other lifestyle changes.

Related: More Benefits of Ginger Water

Mint leaves

These green leaves not only give a refreshing flavor, but also help curb appetite. Mint leaves also stop cravings.

According to the University of Maryland Medical Center, mint benefits the digestive tract. It helps soothe an upset stomach and aids in digestion. Mint also contains some powerful antioxidants.

Basil leaves

According to research done at the Swiss Federal Institute of Technology, basil has good amounts of beta-caryophyllene (BCP). It helps treat many inflammatory issues and bowel disorders.

How to Make Flat Tummy Water

Cucumber, lemon, and ginger are the main flat tummy water ingredients. Here is a simple and rejuvenating flat tummy water recipe.

Simple Flat Tummy Water Recipe

[AdSense-A]

Ingredients:

  • 1 cucumber, sliced
  • 1 tablespoon of grated ginger
  • 6 cups of filtered water
  • 1 lemon, sliced
  • ½ cup of mint leaves

Directions

Add all the above ingredients into a mason jar. You can substitute ginger with ginger root powder.

Allow the ingredients to steep overnight so that the flavors get infused. Stir and enjoy. You can also refrigerate this drink for two days.

Flat Tummy Water with Basil Recipe

Here is another refreshing flat tummy water detox recipe.

Ingredients:

  • Water
  • Cucumber
  • Lemon
  • Ginger
  • Mint leaves
  • Basil leaves
  • Rock salt

Directions

Add one liter of water to a jug. Add 10 pieces of sliced cucumber to the water. Then, add one lemon and a teaspoon of grated ginger.

Tear four to five mint leaves and add them to the water. Add a teaspoon of rock salt and stir. Leave the mixture overnight.

[AdSense-B]

How Often Should I Drink Flat Tummy Water To Reap Its Benefits?

Flat tummy water isn’t a magical formula that works overnight. It can, however, work when accompanied with a healthy diet and a regular workout routine.

So, how often should you drink flat tummy water? Generally, it is a safe and healthy drink, but don’t overdo it. Be sure to drink some plain water in between. You can try water infused with your favorite fresh fruits as well.

If you are on certain medications or have health issues, consult your doctor before opting for this kind of detox.

Source

First Attempt – Blueberry & Lemon Zest Cheesecake

 [AdSense-A]

Hi guys, I was looking on the internet and couldn’t find the exact recipe I wanted for this cheesecake so I just came up with my own. Whilst I overcooked the cheesecake ( our oven is from the middle ages and is very temperamental) it still tasted delicious, next time I will cook for 15 minutes less. Basically at the end of the 45 minutes you want the cheesecake to have a nice jiggle to it, like jelly (jello). It will look underdone but if you leave it in the over whilst it’s off for 30 minutes then to set in the fridge it will taste delicious.

Base

1/2 Cups Almond Flour

1/2 Cups Coconut Flour

1/4 Cups shredded coconut

3 TBSP Erythritol

1/2 Cups Butter

Pinch of Salt

Filling

2 Cups Cream Cheese

2/4 Cups Erythritol

3 Large Eggs

2 tsp Vanilla Essence

1 TBSP Lemon Juice

1 TSP Lemon Zest

1 Cup Frozen Blueberries

[AdSense-B]

Instructions

  1. Add all of the dry base ingredients into a bowl, melt the butter in the microwave for 30 seconds and mix together with the dry.
  2. In a cake tin, line the inside with baking paper and press the base mixture into the bottom of the tin. Don’t press hard and keep to the centre, when you add the wet ingredients it will weigh the biscuit base down. (I used a 23cm round tin)
  3. Place the tin in the fridge and continue to follow the steps. Turn the oven on and select 140 degrees C (280 F) if fan forced, otherwise 160 degrees (320 F).
  4. In a mixing bowl, add the cream cheese and the Erythritol ( I try and powder the Erythritol by placing it into a food processer and grinding it down but you can use granulated), along with the vanilla essence, and the lemon juice & zest. Add 1 Egg to the bowl and begin to mix together (I use my food processor to get a good consistency). As the mixture begins to mix slightly, add another egg and continue to mix. Add the last egg and continue to mix.
  5. At this point I take ½ cup of the mixture and set it aside.
  6. Add the blueberries to the mixture and mix until you get a nice lavender colour
  7. Take the base out of the fridge and fill the tin with the mixture.
  8. Add the white mixture from step 5 and with a knife or a spike, swirl to make a pattern
  9. Put into the oven and bake in a water bath (Or large ramekin filled with water in the oven beside cake) for 45 – 50 mins.
  10. Check the cheesecake by pushing a spike into the middle. If it comes out clean then the cake is ready. Leave the oven slight open and leave the cake in the oven for another 30 mins to cool slowly. Put in the fridge overnight and enjoy! *I’m sure you can use other sweeteners but the taste of the Erythritol came out great
  11. I added a few extra blueberries on top for a nice decoration, you don’t have to add these. I’ve added all of the macros of the cheesecake into MFP under: Keto Blueberry & Lemon Zest Cheesecake and company should appear as ‘Bites’

Macros:

Servings 12 – Calories 258 – Net Carbs per slice: 3.9g

Total fat: 24.3g Sat Fat: 15g Total Carb:7.2g Sugars:3.3g Fiber:3.3g

[AdSense-A]

Taco {salad}

[AdSense-A]

Easy taco salad tonight! This served 4 people.

1.5 pounds boneless chicken thighs .5 cup salsa

Cook in pressure cooker for 30 mins on high, shred

Used bagged salad, shredded chicken, sour cream, and shredded cheddar. Sadly my avocados aren’t ripe yet.

[AdSense-B]

The perfect low carb appetizer – Beef Negimaki

[AdSense-A]

Ingredients:

  • 2 bunches of scallions
  • 1lb thinly sliced beef (Milanese style)
  • 1 Tbsp canola oil or coconut oil

For the marinade:

  • 1/3 cup gluten free soy sauce (tamari)
  • 1/3 cup rice wine vinegar (unsweetened)
  • 2 Tbsp fish sauce
  • 1 tsp sesame oil
  • 1 tsp sriracha
  • 1 Tbsp minced ginger
  • 1 clove minced garlic
  • 1 Tbsp granulated sugar substitute (stevia, splenda, swerve, etc.)
    (or 1 Tbsp agave nectar or 2 Tbsp brown sugar)
  • 1 tsp tamarind concentrate (optional)

Instructions:

[AdSense-B]

1.Combine all marinade ingredients in a bowl or plastic container. Trim the scallions into six inch lengths. Wash the scallions well and while still wet, wrap in a clean paper towel. Place damp towel containing scallions in the microwave for 30 seconds. Remove from microwave, open paper towel and spread the scallions out to cool. They should turn bright green and soften enough to be pliable. If you don’t have a microwave you could blanch them in boiling water for 45 seconds and then plunge into ice water and set aside.
2. Lay out your thinly sliced steaks (you could also use cube steaks or flank steak pounded thinly), overlapping if necessary and trim to about 6″ by 6″ squares. Lay about 5 scallions in the center of each and roll them up tightly. You can use twine or extra scallions to tie them so they don’t unravel.
3. Place the rolls in your marinade along with the meat scraps which can be sauteed and used in a stir fry or wrapped in lettuce leaves. Marinate for an hour or more.
4. Remove rolls (and meat scraps which can be cooked separately) from the marinade and pat dry.
5. Heat oil in a medium saute pan until hot and then place rolls into the pan. Cook for about 4 – 6 minutes until medium rare inside (or longer if you prefer), turning frequently so all sides are nicely browned. Remove from pan and let rest for a couple of minutes before slicing.
6. Meanwhile, strain the remaining marinade to get out the garlic and ginger pieces and add the marinade to the pan. Cook for a couple of minutes or until reduced to a syrupy consistency (don’t overdo it or it will harden when it cools!). Cut the rolls on a diagonal and garnish with the sauce.

[AdSense-A]